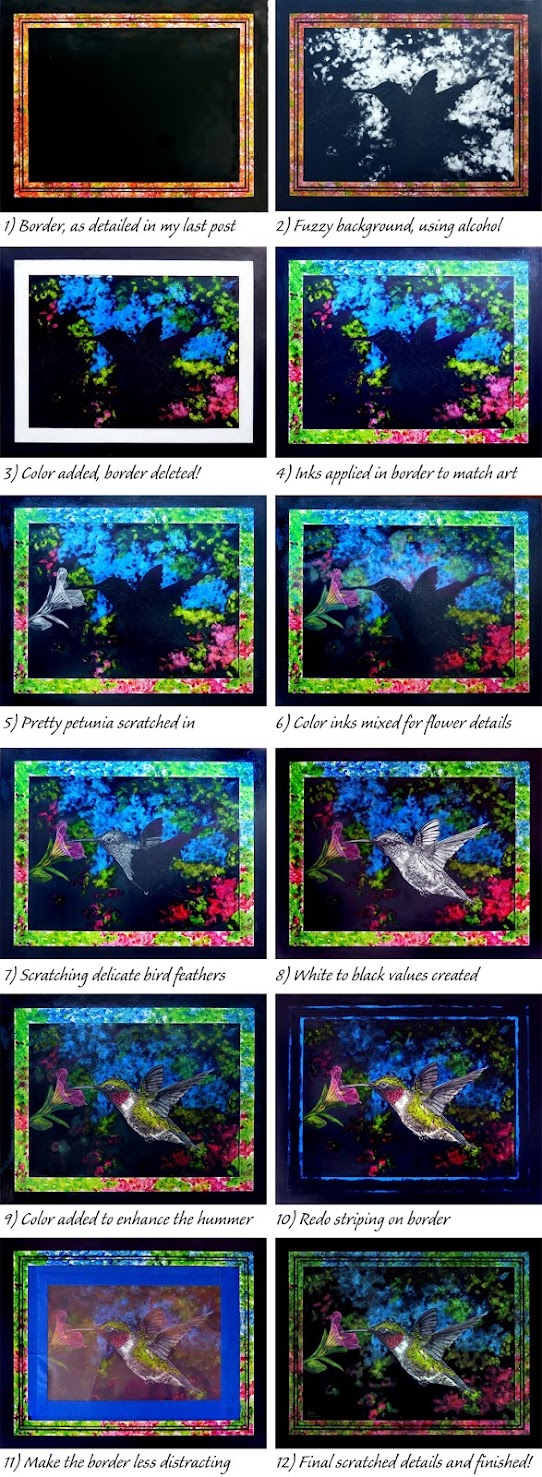
As demonstrated in my previous post, I created a border design on a 14″ x 11″ black Scratchbord™, using colors to match those I planned to use in the artwork. For the background to appear out-of-focus, I used an alcohol wipe which dissolves the india ink surface of the panel, blotting and rubbing randomly around the areas reserved for the bird and flower. I also rubbed off areas of black using circular motions with fiberglass brushes in two sizes, especially near the bird and flower (you can find sources of many of my tools in a post called Scratchboard 101).
Next I applied colored inks in pink, green and blue shades over the fuzzy uncovered white areas. OH NO… the border I had worked so hard on looked awful!! I hated it so much that I removed it before remembering to take a photo of how badly it looked – sorry. The watercolors I had used in the border washed right off, and I carefully rubbed away the black stripes, again using rubbing alcohol. Voila, a clean white border area again. This time I used the same colored inks as in the painting, randomly applying them with elephant ear sponges and spattering with an old toothbrush. At the top I echoed the blue and green shades and at the bottom used pinks and greens.
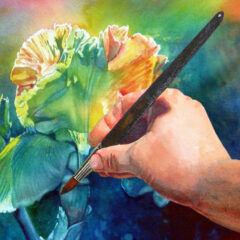
I scratched the fine details of the petunia and its foliage, capturing its shapes solely with gray values. I mixed the inks and painted in the flower colors. These Ampersand Scratchbord/Claybord inks are very transparent, mix well, thin with water, and dry insoluble. I find I only need to use a drop at a time, since I am usually painting small areas. I mix my inks in a 7-day pill organizer!
The scratching of the hummingbird began next, with strokes in the direction of the feathers. Again, I’ve used the scratching to create a range of values, from white to black and many shades in between. To color his body, I used diluted black, diluted blue/green, a reddish pink, spots of beige, and mixtures of yellow/greens. The areas left pure white help draw the viewer’s eye to the hummingbird as the focal point.
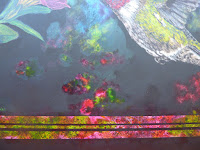
Time to finish the border, so I applied my blue pin striping tapes as shown in my previous post and sponged on undiluted black ink. Once dry and uncovered, I decided that the border was too busy and visually distracting to the hummingbird and flower. So first I covered and masked off the center area to protect the main painting while I did my border “fix.” I sponged on more of the colored inks, to eliminate white areas. I let that dry then spattered black ink all over the border. That did the trick – the border now accented and framed the artwork without overpowering it. My whole painting looked more unified. Note, in my close-up photo here you can see the splotchiness of colored inks where I overlapped them onto black areas; this magically disappears when the final varnish is applied to the finished painting, another advantage of using these Ampersand inks over other brands.
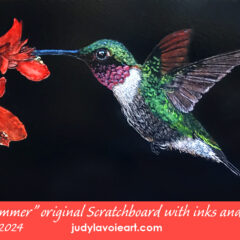
This is one of two paintings of my latest scratchboard paintings juried into the 9th Annual International Scratchboard Artists Exhibition, which delights me! It also was done as a practice painting for another species of hummingbird I want to capture in scratchboard, Anna’s Hummingbird. Watch for that blog post soon!

