Through the wonders of technology, here's a quick time-lapse of the creation of my new scratchboard "Locked In Time." 'Hard to believe that it took weeks, not seconds, to create this artwork! Learning to add a mini-video to my blog is one of my many quarantine-time activities. Perhaps I'll get more adventurous (and better) in the future and maybe even add audio.
Click on the photo to launch the slide show.
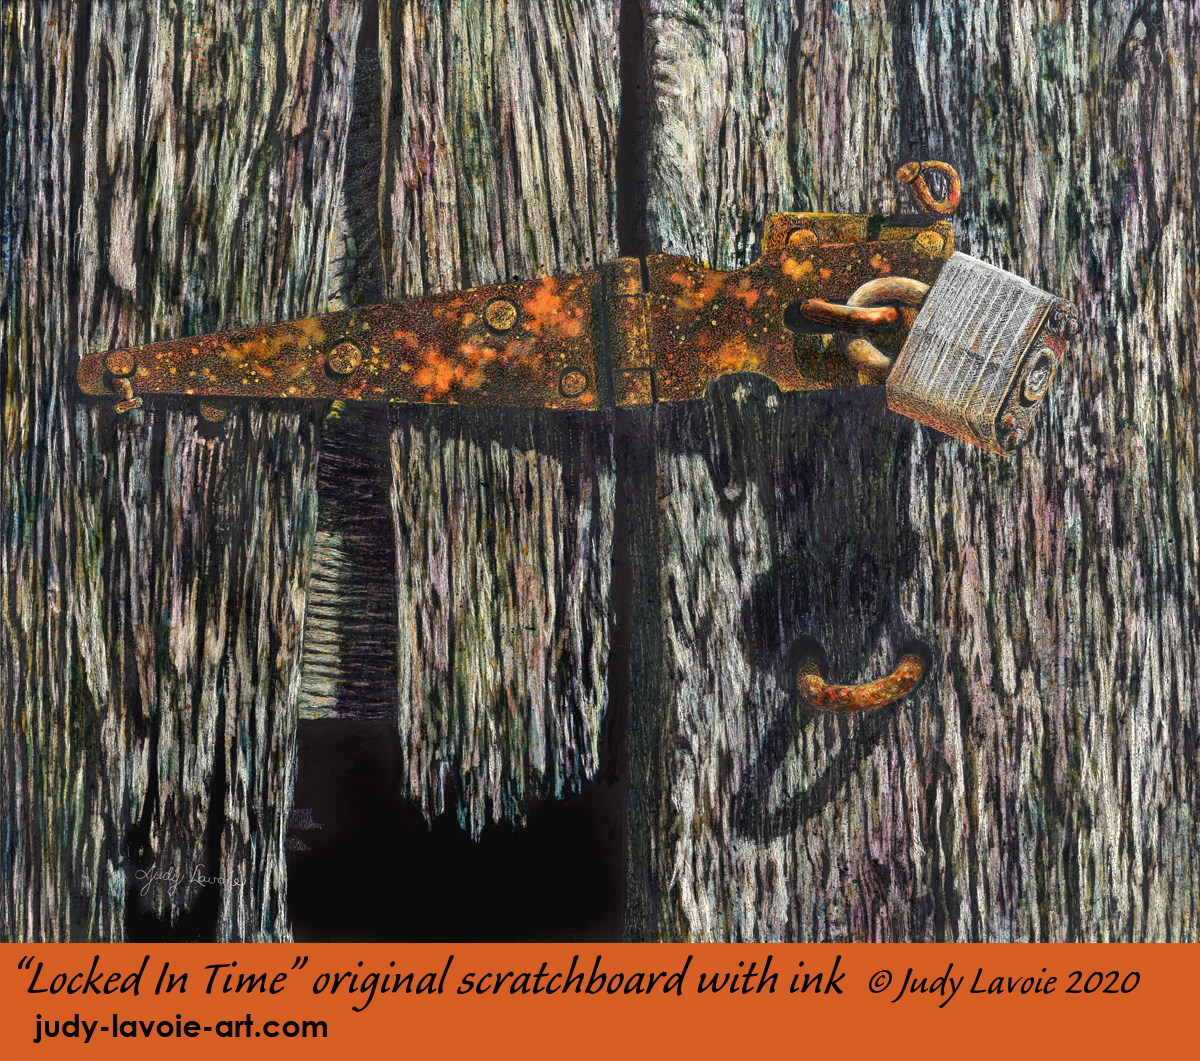
Scratchbord™ is the perfect surface for depicting rich textures such as old wood and rusty metal. I don't remember where I took the reference shot I selected or this artwork, but it was in my painting photo file, dated 2008. I liked the range of dark-to-light values, cast shadows, twisted and bent nails, and the darkness between and behind the old barn boards. I knew it was the ideal candidate for my newest scratchboard adventure, where I could use a variety of scratch marks to create white to black areas with lots of grey values in between. Even before I began, my vision was to incorporate strong color in the artwork, exaggerating what the photo showed. I know from my previous scratchboard work that you have to get the values right first, then keep added color very transparent.
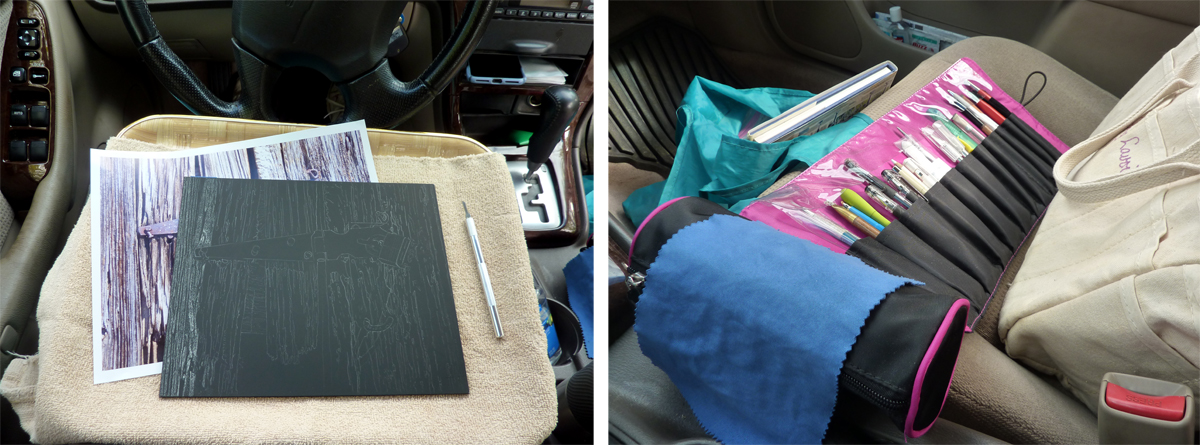
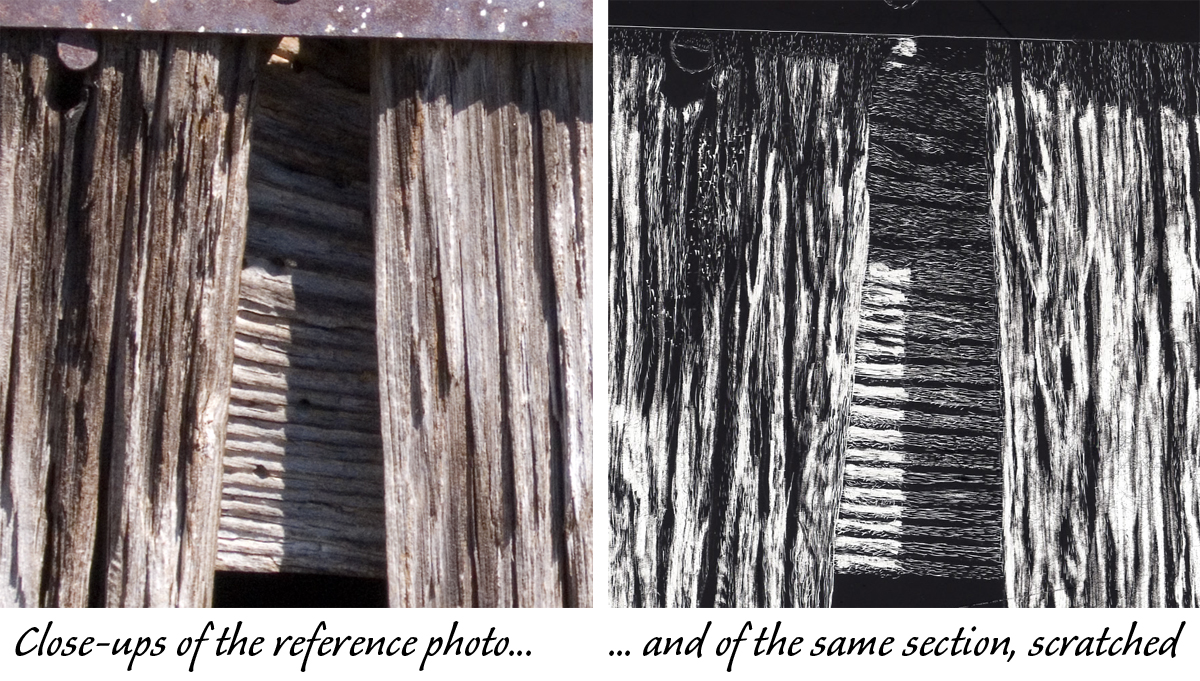
As you can see in my short video, I tackled the wood surface from left to right, working around the black areas between the boards, and keeping the hinge, lock, and other hardware untouched. The shadows on the wood were scratched too, but with finer and more sparse scratches to create darker values. I made my strokes in the direction of the wood grain, and went back and forth over the panel several times in order to create the range of values which would make the worn grain look three dimensional.
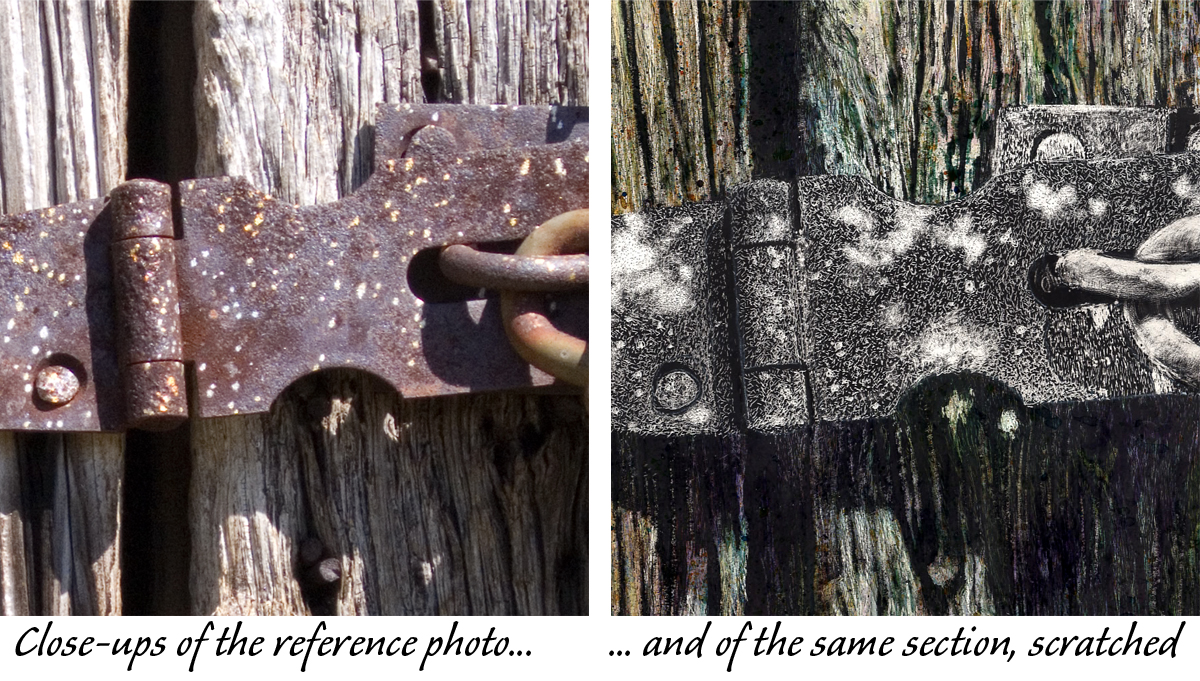
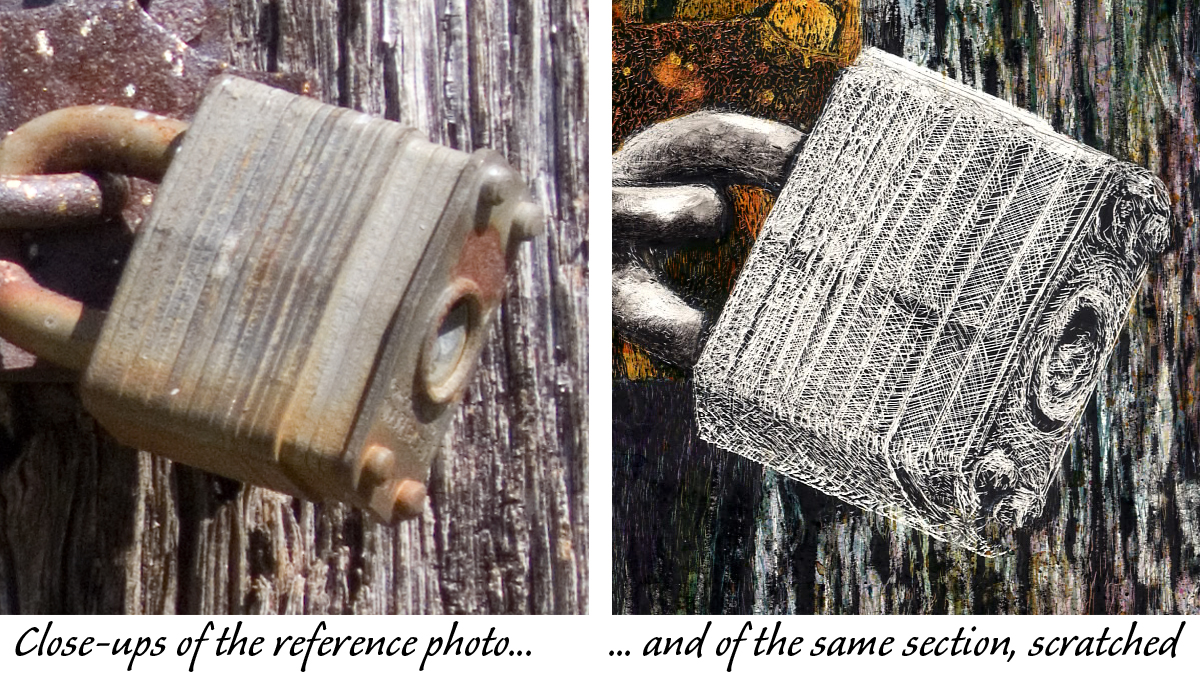
After declaring my scratchboard finished and allowing ample time for the inks to dry, I used a fine black pen to put small dots in places which I thought were too light and to touch up small white specs I might have created by accident in the blackest areas. I like using Pentel Arts Hybrid Technica or Pigma Micron black pens for this step. Once dry, I softly wiped the surface with a very lightly dampened cotton cloth one more time to remove any fine residue left from the scratching process.
An archival coating over the finished work protects it from dirt, moisture, UV discoloring and, almost magically, unifies the surface and makes black marks blend into the original factory surface of the black scratchboard. I do several coats of Krylon® Gallery Series UV Archival Varnish Spray, available from art suppliers not your nearby hardware store. I favor the satin finish, but I start with a first coat of their matte finish. Some scratchboard artists prefer a brush-on clear coating, but I like the spray. Finishing these Ampersand Art scratchboard panels this way allows them to be easily popped into a frame with no need for a mat or glass over the surface.
"Locked In Time" is one of my accepted entries into the 2020 International Society of Scratchboard Artists Annual Exhibition, so my hard work has been rewarded!

