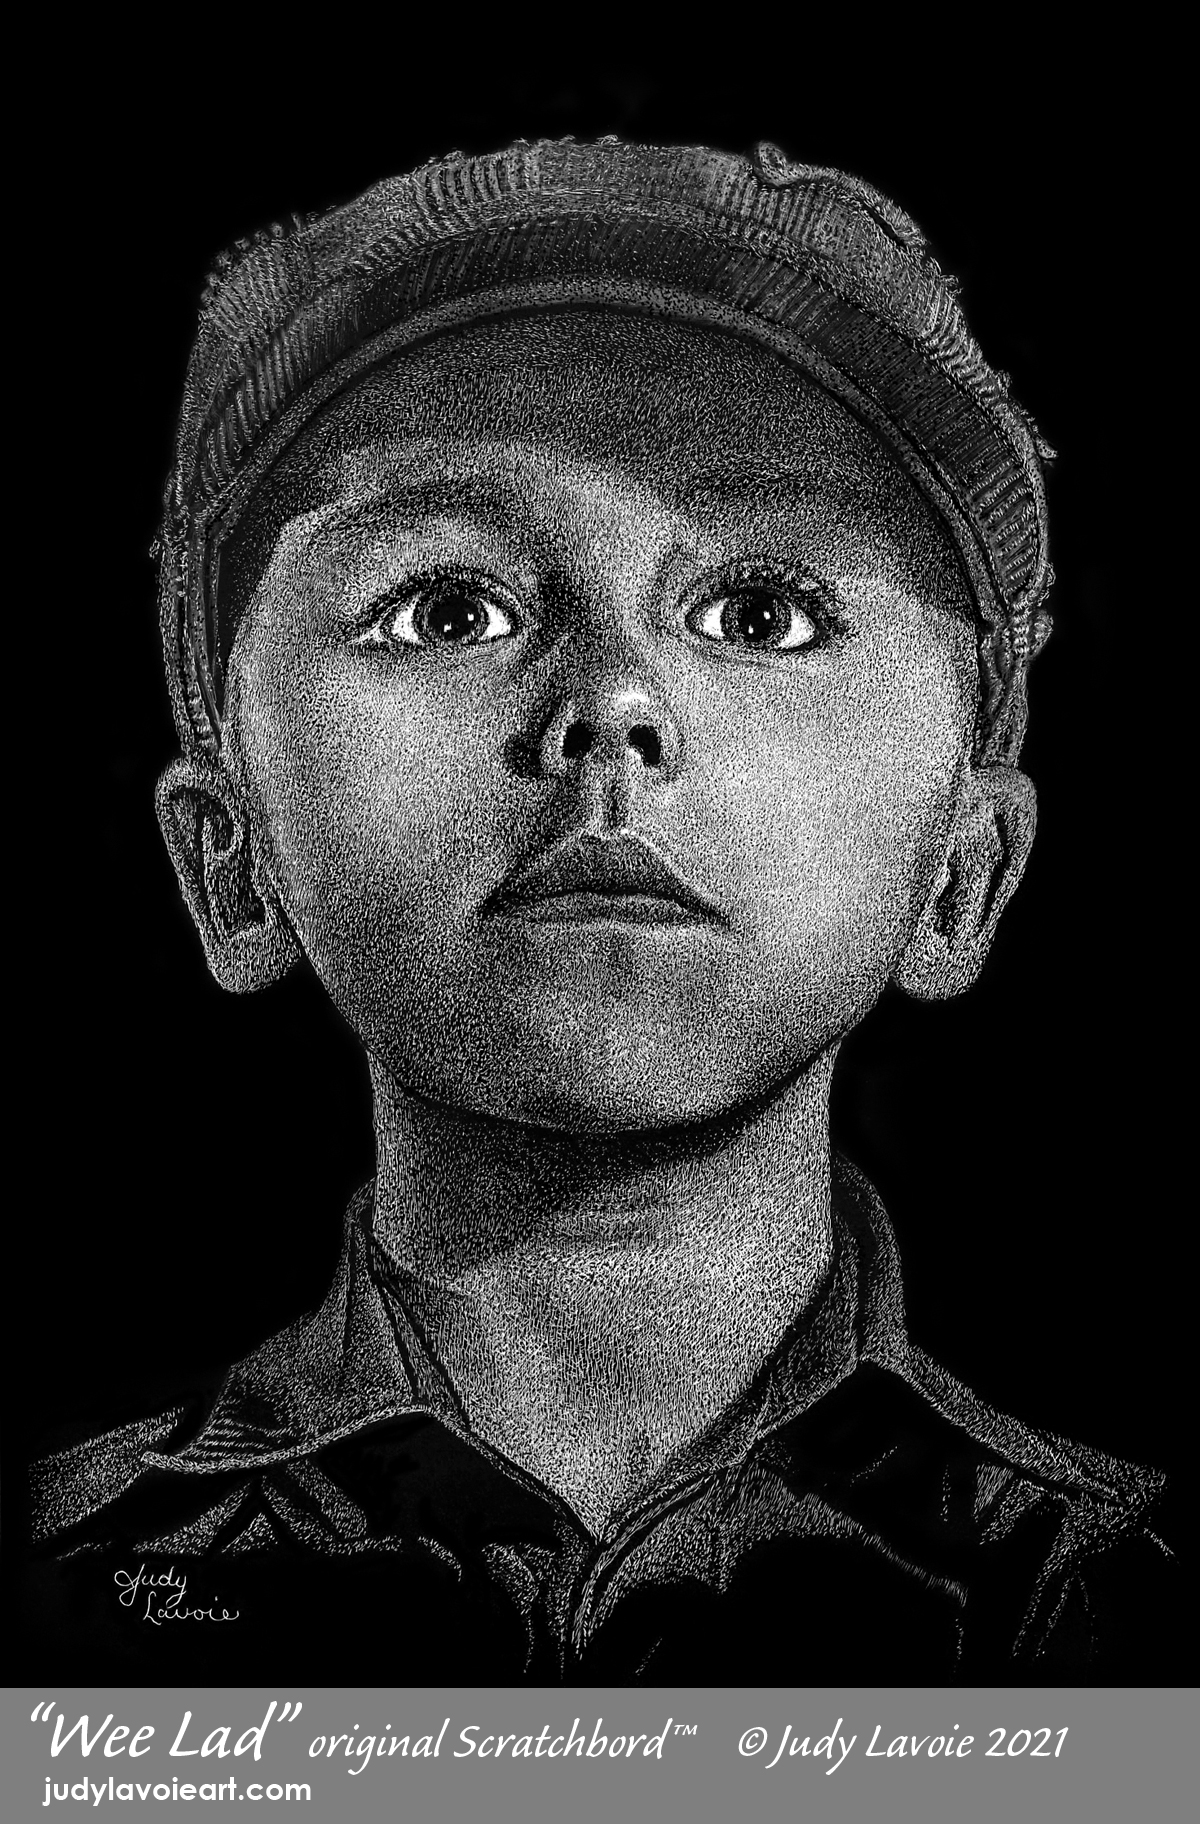
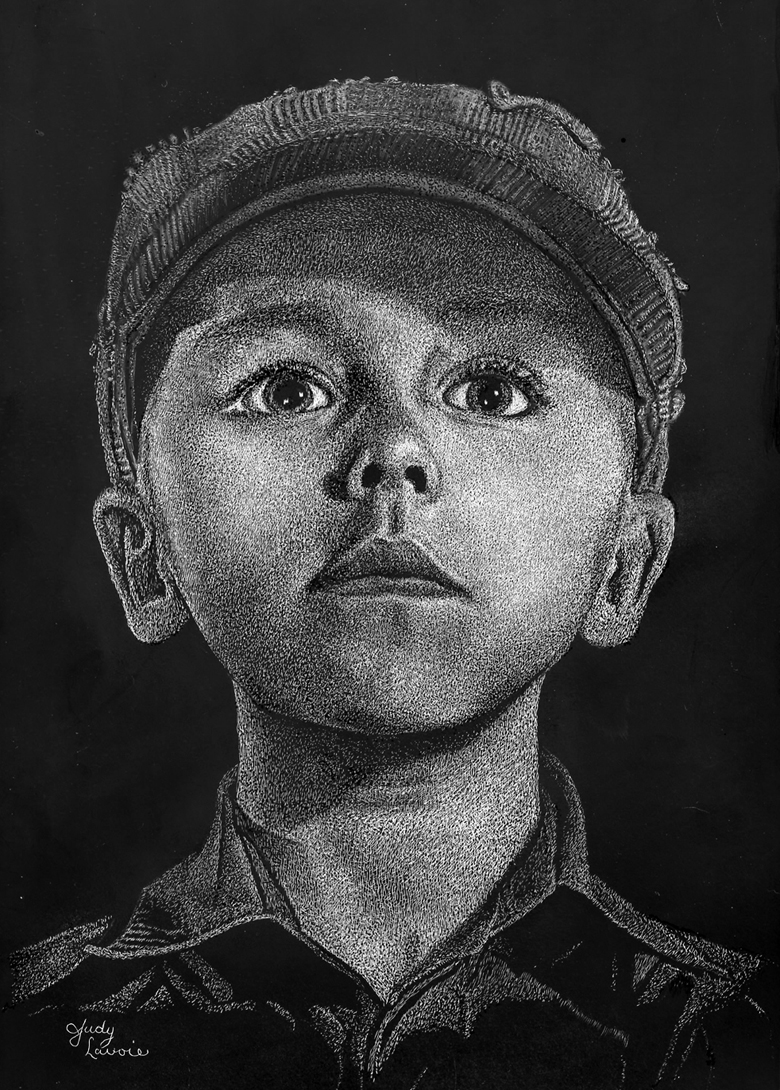
I’ve just learned a new scratchboard technique for creating smooth transitions between shades of gray. It’s a great improvement over what I was doing. Sheryl Unwin, a fabulous scratchboard artist, was generous to share her methods for both stippling and hatching in a 4-session Zoom workshop. I’ve created “Wee Lad,” a small 5” x 7” Scratchbord™, with her tips.
I love my results, but I need more practice to really latch onto this technique. It is rather time consuming … if you need an activity to fill hours of sheltering at home, this is just the thing! To be honest, when you get into a rhythm of scratching it can be relaxing in a Zen sort of way. I’m anxious to apply what I’ve learned to future scratchboards and I am grateful to Sheryl for sharing her knowledge.
“Stippling” is a process which uses small dots to create different values. Stippling is one of many ways artists draw with black ink on white paper. In the case of black-surfaced scratchboards, values refer to gray shades between pure white and pure black. On a scratchboard, the stippling process is reversed when compared to pen and ink stippling: marks are scratched into the black surface to reveal the white layer below, creating the appearance of a gray value. The value achieved by stippling depends on:
- the scratching tool used (ex: an x-acto blade, a steel etching tool, a scalpel blade)
- the thickness of the mark (ex: fine line vs. extra-fine line)
- the type of mark made (ex: dots, tiny parallel lines, random small scratches)
- the size of the mark (ex: a tiny dot, a 1/16” line)
- the spacing between the scratched marks (more space, darker value)
- the pressure applied with the scratching tool (ideally, marks barely scratch the black surface)
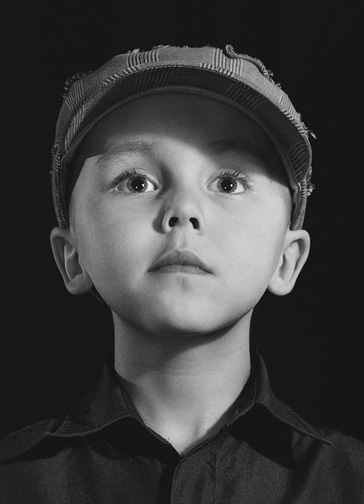
Reference photo
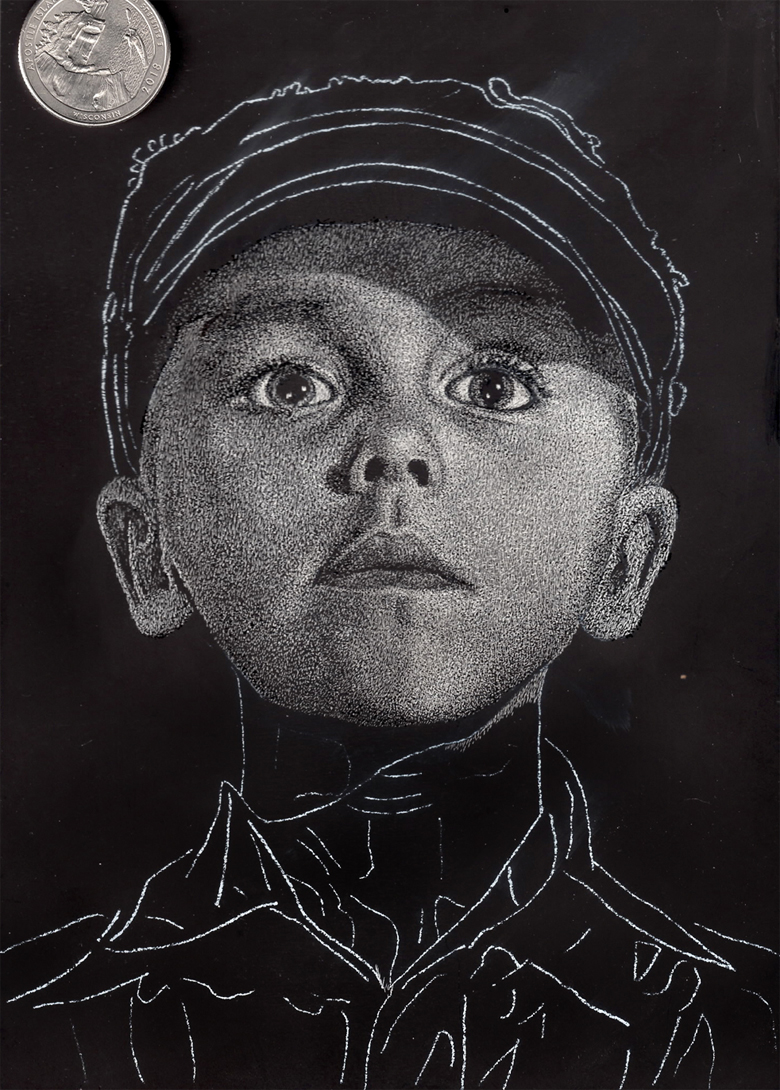
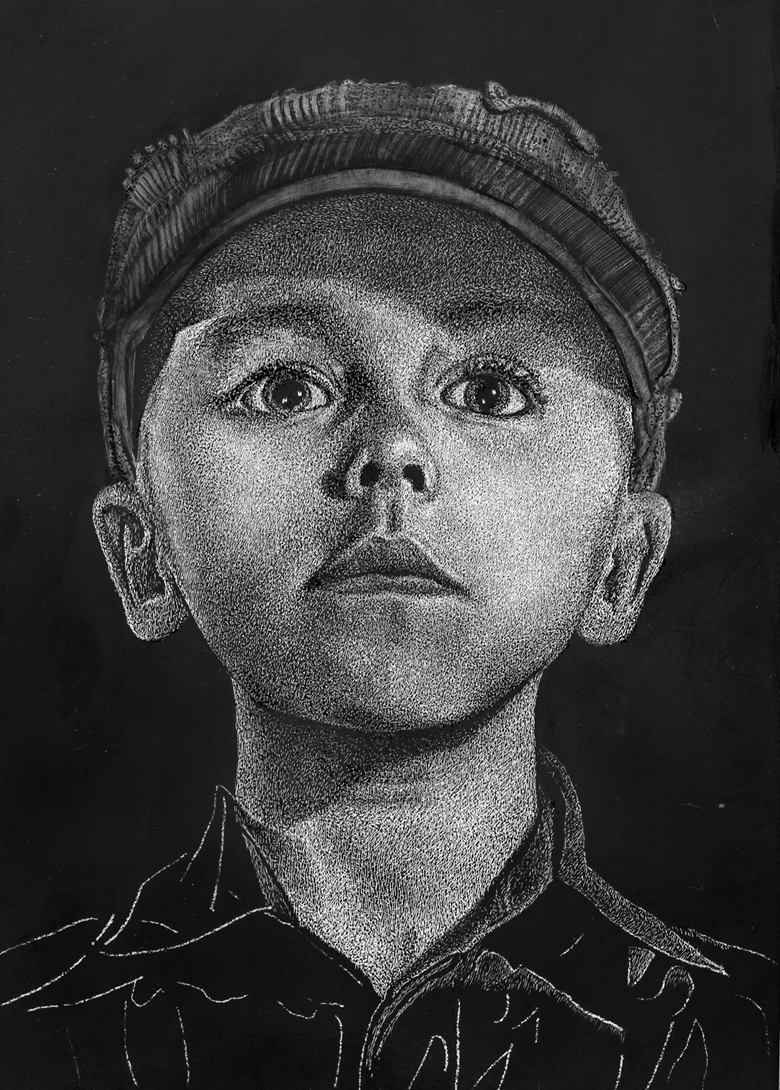
Click any image view Judy’s stippling steps larger…

I’ve closely examined the stippling work of many excellent scratchboard artists and still couldn’t figure out how their values blended so smoothly. I especially wanted to use this method for creating skin tones, instead of the coarser appearance I’ve created in my earlier scratchboards with cross hatching lines.
Sheryl’s method solved the mystery for me - she uses an x-acto or scalpel blade to make fine lines, about 1/16” long, very close and parallel. Then she uses a very fine permanent black ink pen (she uses and recommends a black 0.03 Copic Multiliner, the refillable SP style) to make tiny black dots over the fine lines she has scratched. Just as the stippled values vary with the scratching, they will vary with the size of the pen used for the dots. These dots break up the fine lines and slowly a stippled pattern emerges. Sheryl repeats the scratching and inking steps as needed (doing more for areas of lighter values), creating even tones and smooth transitions between values. She’s done this so much that she has a rhythm to her strokes and moves across an area very smoothly and rather fast - hopefully that will come with practice for me!
I’ve purchased my Copic pen, refill inks, replacement nibs and the tool to change the nibs, so I am ready to go on my next scratchboard stippling artwork!
The little boy in the artwork looked looks a kid from the 1900s. His tweed cap made me think of Scotland. I titled this "Wee Lad" in honor of my friends from Scotland, many who Rick and I have met over the years at our favorite pub in Knoxville TN, Boyd’s Jig & Reel. I haven’t been there in over a year due to the COVID-19 pandemic and I miss sharing fun times, good food and wonderful live Scottish music with wonderful people.
Photo of the boy provided by Sheryl Unwin, a copyright-free image from Pixaby.
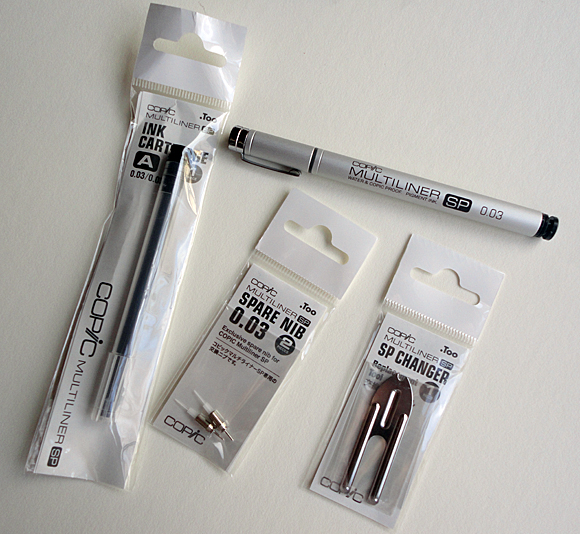
My Copic Multiliner supplies
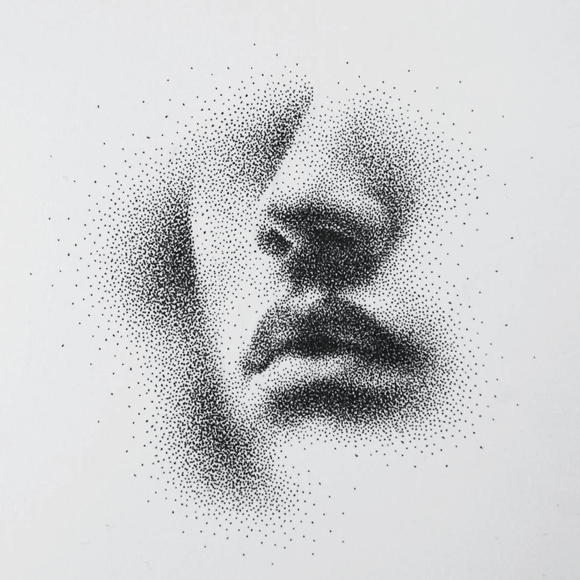
Sample of a stippled image, black on white